SSL Virtual Servers - NetScaler 11
This page contains generic instructions for all SSL Virtual Servers including: Load Balancing, NetScaler Gateway, and Content Switching.
Navigation
- Cipher Group
- Default SSL Profile
- SSL vServer Configuration - Bind Cert, Ciphers, ECC, and STS
- SSL Tests
- SSL Redirect - Down vServer Method
- SSL Redirect - Responder Method
:idea: = Recently Updated
Cipher Group
References:
- Citrix Blogs - Scoring an A+ at SSLlabs.com with Citrix NetScaler – 2016 update :idea:
- CJHarms Perfect Forward Secrecy and NetScaler MPX Revisited
- Anton van Pelt Make your NetScaler SSL VIPs more secure (Updated)
-
Citrix CTX201710 Cipher/Protocol Support Matrix of NetScaler Appliances:
- VPX 11.0 build 64 and older support fewer ciphers than MPX. This was corrected in 11.0 build 65.
-
Ryan Butler has a PowerShell script at Github that can automate NetScaler SSL configuration to get an A+. :idea:
- The easiest way to create a cipher group is from the CLI. See Citrix Blogs Scoring an A+ at SSLlabs.com with Citrix NetScaler – 2016 update for cipher group CLI commands.
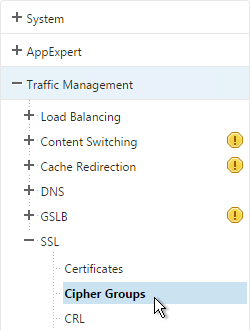
- Go to Traffic Management > SSL > Cipher Groups.
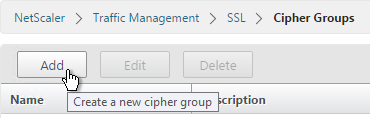
- On the right, click Add.
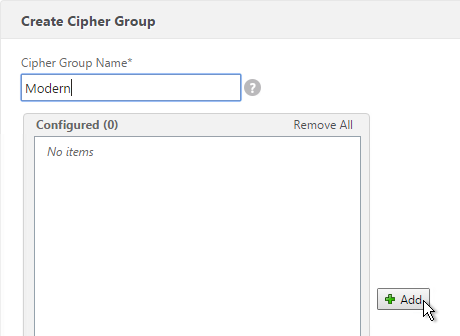
- Name it Modern or similar.
- In the middle, click Add.
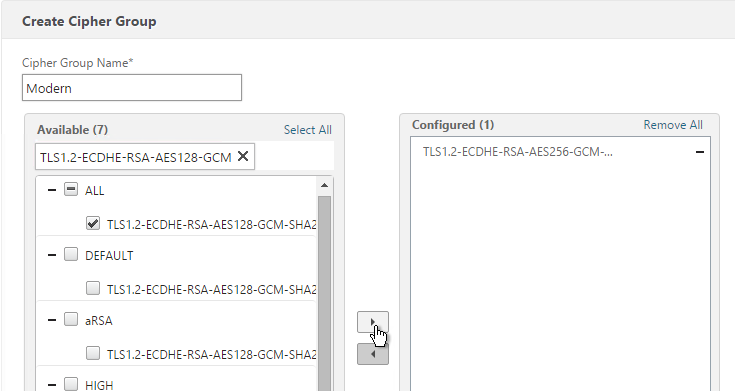
- Use the search box to find a particular cipher.
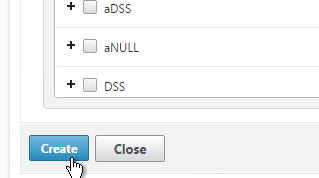
- Check the box next to one of the results and click the arrow to move it to the right. See Citrix Blogs Scoring an A+ at SSLlabs.com with Citrix NetScaler – 2016 update for recommended ciphers. The recommended ciphers vary based on the hardware platform and support for older clients.
- Click Create when done.
Default SSL Profile
In NetScaler 11.0 build 64 and newer, SSL Profiles are much more functional. You can use SSL Profiles to disable SSLv3, bind ciphers, and bind ECC curves.
Note: the default SSL Profile affects all SSL Virtual Servers unless you create additional SSL Profiles and bind the additional SSL Profiles to individual SSL Virtual Servers.
Citrix CTX201710 Cipher/Protocol Support Matrix of NetScaler Appliances - VPX 11.0 build 64 and older supports fewer ciphers than MPX. This was corrected in 11.0 build 65.
NetScaler 11.0 build 65 adds TLS 1.2 for back-end connections from VPX appliances. However, it does not appear to be possible to enable TLS 1.2 on SSL Profiles on VPX. If you don't enable the default SSL profiles then you can enable TLS 1.2 on each Service Group or Service. If you are using VPX, don't enable Default SSL profile as detailed in this section. :idea:
NetScaler 11.0 build 64 and older does not do a proper handshake with TLS 1.2 IIS servers. To work around this problem, disable TLS 1.2 on the load balancing services as detailed at CTX205578 Back-End Connection on TLS 1.1/1.2 from NetScaler to IIS Servers Break. Or upgrade to 11.0 build 65.
Also see CTX205576 NetScaler to Back-End SSL Handshake Failure on Disabling SSL 3.0 on Back-End (Physical) Servers. These articles describe both SSL services and SSL_BRIDGE services.
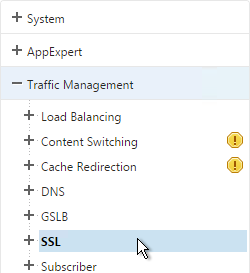
- Go to Traffic Management > SSL.
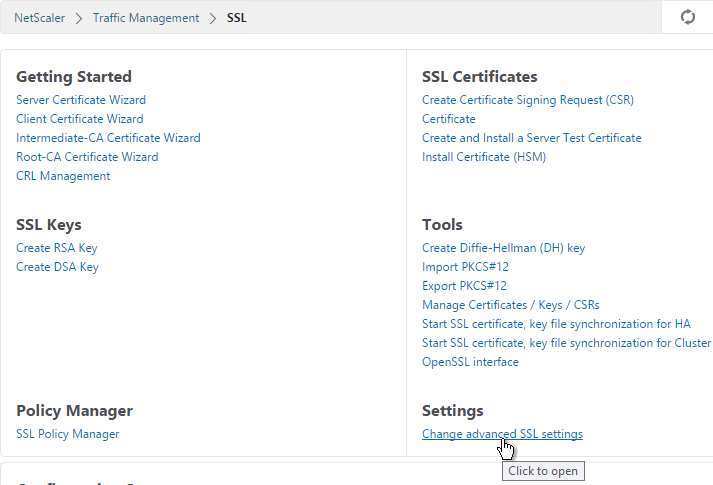
- On the right, in the right column, click Change advanced SSL settings.
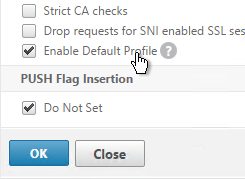
- Near the bottom, check the box next to Enable Default Profile. Note: this will change SSL settings on all SSL Virtual Servers to match the default SSL profile. You might want to do this during a maintenance window. Click OK when done.
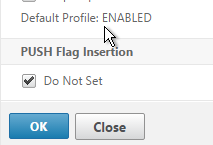
- If you go back into Advanced SSL Settings, notice that the Default Profile is enabled and there’s no way to disable it.
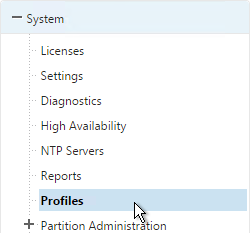
- To change the default SSL profile, on the left, go to System > Profiles.
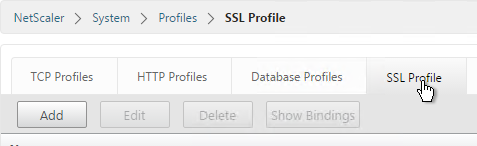
- On the right, switch to the SSL Profile tab.
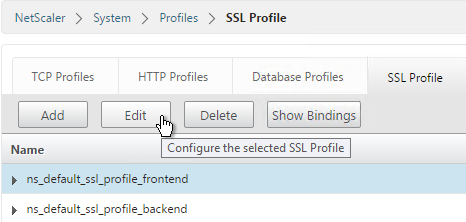
- Highlight the frontend or backend default profile and click Edit. Note: this is the same place where you can create more SSL profiles.
- Notice that SSLv3 is disabled by default.
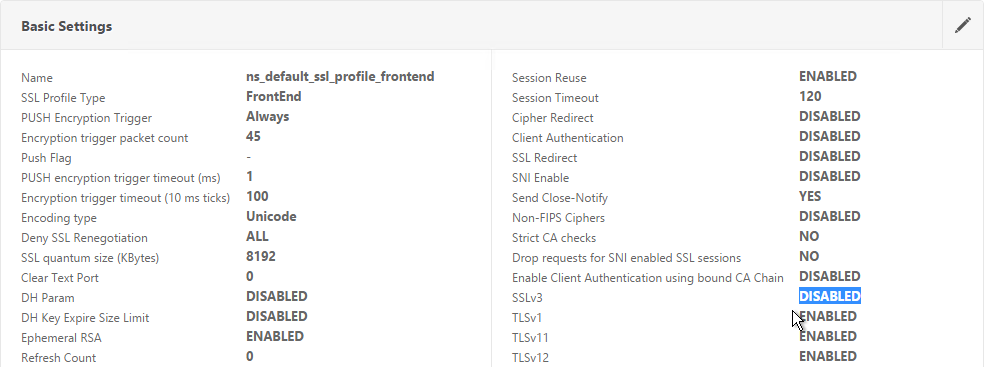
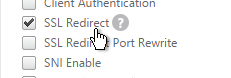
- If you do any SSL Offload (SSL on the client side, HTTP on the server side) then you'll need to edit the Basic Settings section and enable SSL Redirect. Or you can create a new SSL Profile with this option enabled. It's near the bottom of the section. With this option enabled, any 301/302 redirects from the server with HTTP locations are rewritten to HTTPS locations. You might need this option for StoreFront load balancing if doing SSL Offload.
-
It’s currently not possible to bind user-defined cipher groups using the GUI but you can easily do this using the CLI. First unbind the DEFAULT cipher group and then bind the Modern cipher group.
unbind ssl profile ns_default_ssl_profile_frontend -cipherName DEFAULT
bind ssl profile ns_default_ssl_profile_frontend -cipherName Modern
11. If you edit one of your SSL Virtual Servers, there’s an SSL Profile section indicating that the default profile is being used. You can change the binding to a different SSL Profile.
Bind Certificate, Bind Cipher Group, Disable SSLv3, Enable STS
NetScaler 11.0 build 64 and older do not do a proper handshake with TLS 1.2 IIS servers. To work around this problem, disable TLS 1.2 on the load balancing services as detailed at CTX205578 Back-End Connection on TLS 1.1/1.2 from NetScaler to IIS Servers Break. Also see CTX205576 NetScaler to Back-End SSL Handshake Failure on Disabling SSL 3.0 on Back-End (Physical) Servers. These articles describe both SSL services and SSL_BRIDGE services.
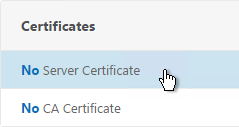
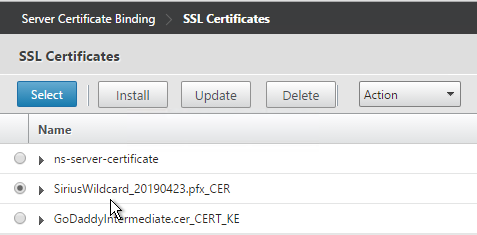
- When creating the SSL Virtual Server, on the left, in the Certificates section, click where it says No Server Certificate.
- Click where it says Click to select.
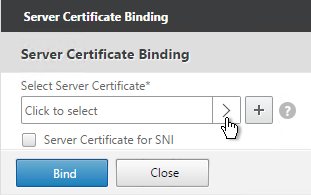
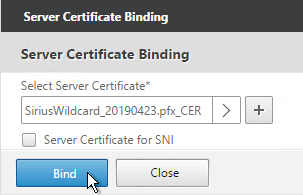
- Select a certificate and click Select.
-
Click Bind.
-
If the SSL Parameters section isn’t added, on the right, in the Advanced Settings column, click SSL Parameters.
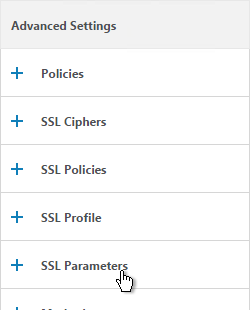
- On the left, in the SSL Parameters section, click the pencil icon.

-
Uncheck the box next to SSLv3. This removes a security vulnerability. Make sure TLSv11 and TLSv12 are enabled. Click OK.

-
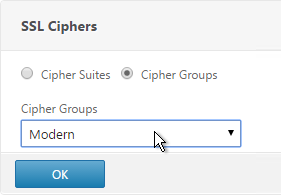
On the right, in the Advanced Settings column, click SSL Ciphers.
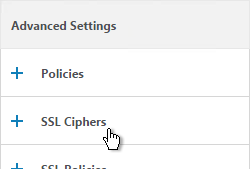
-
On the left, in the SSL Ciphers section, select the previously created Modern Cipher Group and click OK.
-
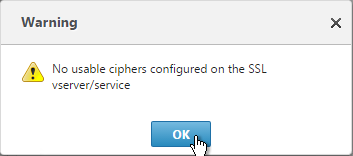
If you see a warning about No usable ciphers, click OK and ignore it.
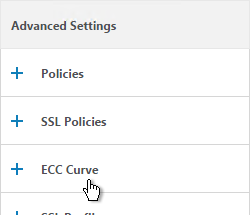
- SSL Virtual Servers created on newer versions of NetScaler will automatically have ECC Curves bound to them. However, if this appliance was upgraded from an older version then the ECC Curves might not be bound. On the right, in the Advanced Settings section, click ECC Curve.
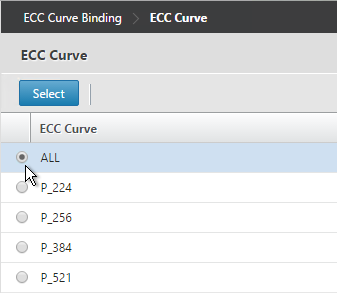
- On the left, in the ECC Curve section, click where it says No ECC Curve.
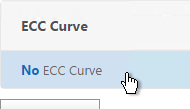
- Click to select.

-
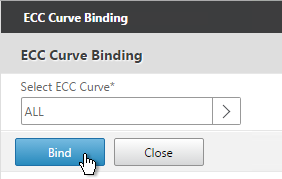
Choose ALL and click Select.
-
Click Bind.
-
Consider enabling Strict Transport Security by creating a rewrite policy and binding it to this SSL Virtual Server. See Anton van Pelt Make your NetScaler SSL VIPs more secure (Updated). Also see CTX205221 How Do I Do HSTS on NetScaler?
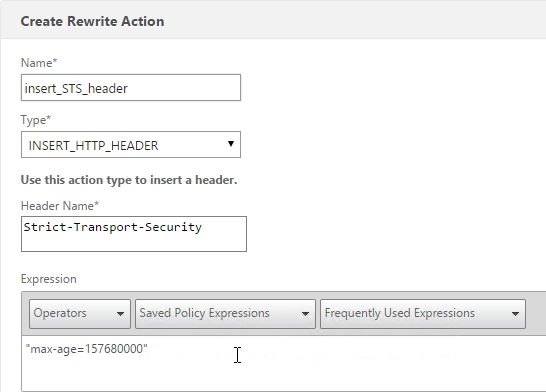
enable ns feature rewrite

add rewrite action insert_STS_header insert_http_header Strict-Transport-Security "\"max-age=157680000\""

add rewrite policy insert_STS_header true insert_STS_header

bind lb vserver MyvServer -policyName insert_STS_header -priority 100 -gotoPriorityExpression END -type RESPONSE
SSL Tests
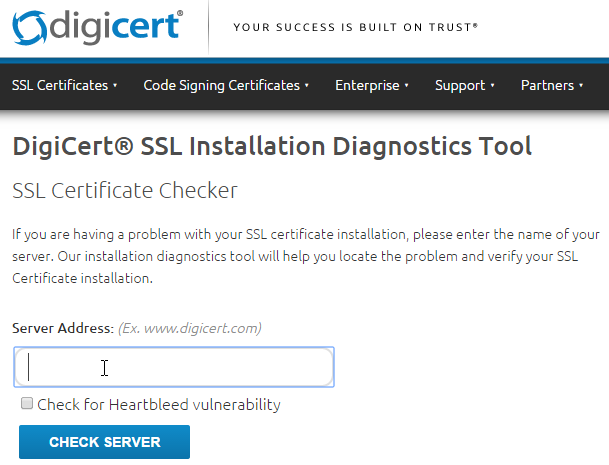
After you’ve created an SSL Virtual Server, run the following tests:
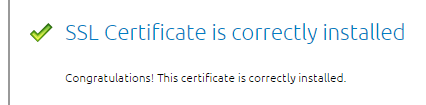
- Go to https://www.digicert.com/help/ to verify the certificate chain.
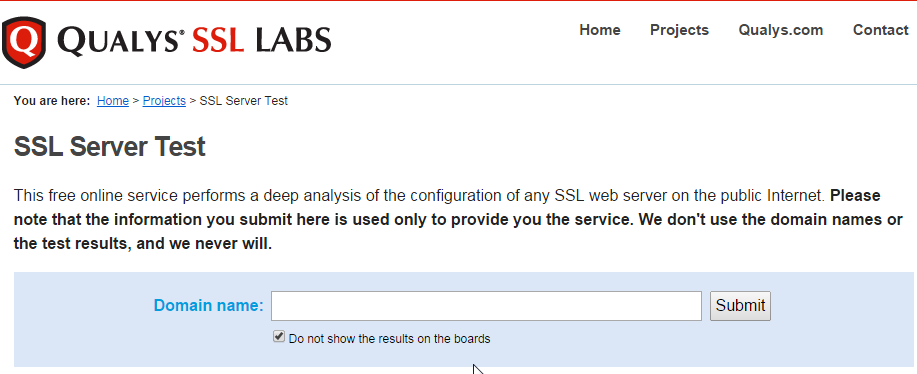
- Go to https://www.ssllabs.com/ssltest/ and check the security settings of the website.
SSL Redirect - Down vServer Method
If you created an SSL Virtual Server that only listens on SSL 443, then users must enter https:// when navigating to the website. To make it easier for the users, create another load balancing Virtual Server on the same VIP but listens on HTTP 80 and then redirects the user’s browser to reconnect on SSL 443.
The Down Virtual Server Method is easy but the Redirect Virtual Server must be down in order for the redirect to take effect. Another option is to use Responder policies to perform the redirect.
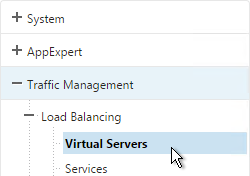
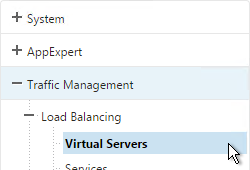
- On the left, under Traffic Management > Load Balancing, click Virtual Servers.
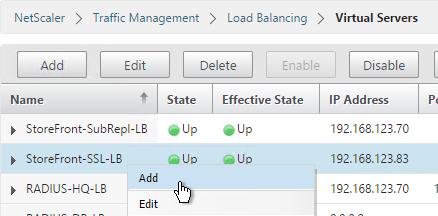
- On the right, find the SSL Virtual Server you’ve already created, right-click it and click Add. Doing it this way copies some of the data from the already created Virtual Server.
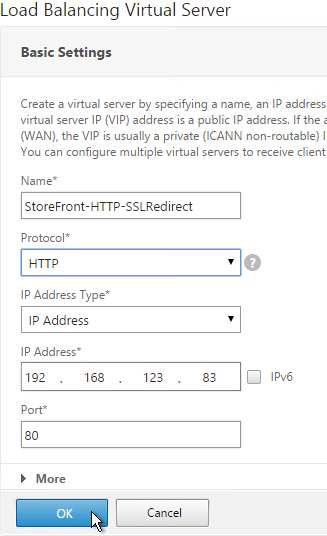
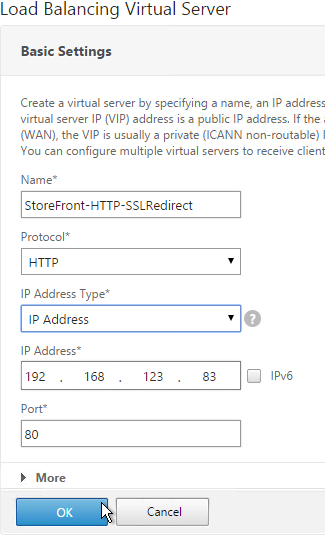
- Change the name to indicate that this new Virtual Server is an SSL Redirect.
- Change the Protocol to HTTP on Port 80.
- The IP Address should already be filled in. It must match the original SSL Virtual Server. Click OK.
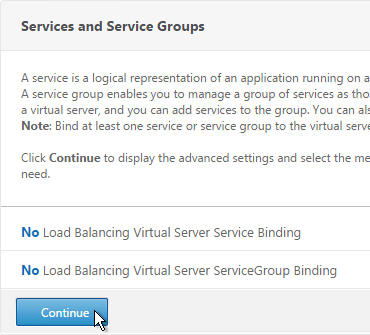
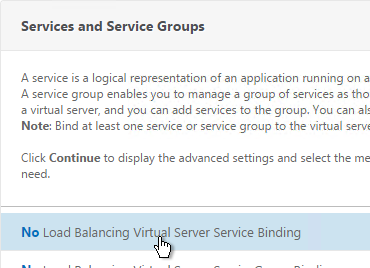
- Don’t select any services. This vServer must intentionally be marked down so the redirect will take effect. Click Continue.
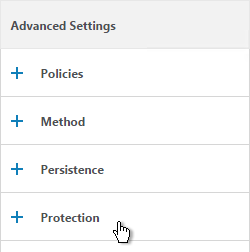
- On the right, in the Advanced Settings column, click Protection.
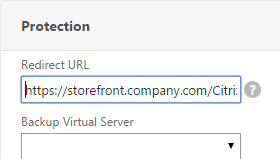
- In the Redirect URL field, enter the full URL including https://. For example: https://storefront.company.com/Citrix/StoreWeb. Click OK.

- Click Done.

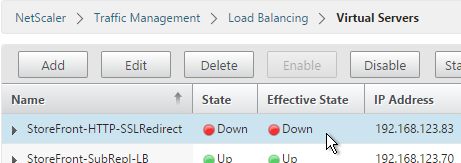
- When you view the SSL redirect Virtual Server in the list, it will have a state of DOWN. That’s OK. The Port 80 Virtual Server must be DOWN for the redirect to work.
SSL Redirect - Responder Method
The Down Virtual Server Method is easy but the Redirect Virtual Server must be down in order for the redirect to take effect. Another option is to use Responder policies to perform the redirect. This method requires the Redirect Virtual Server to be UP.
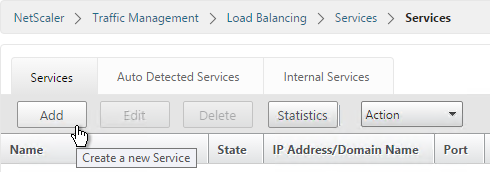
- Create a dummy Load Balancing service. This dummy service can be bound to multiple Redirect Virtual Servers.

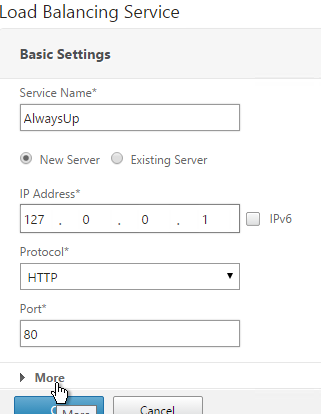
- Name it AlwaysUp or similar.
- Use a loopback IP address (e.g. 127.0.0.1). After the service is created it changes to a NetScaler-owned IP.
- Click the More link.
-
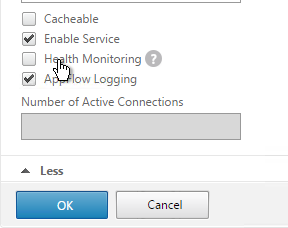
This dummy service must always be UP so uncheck the box next to Health Monitoring. Click OK and then click Done.

-
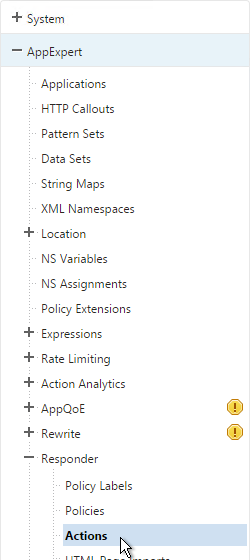
On the left, expand AppExpert and click Responder.
-
If Responder is not enabled, right-click Responder and click Enable Feature.

-
Under Responder, click Actions.
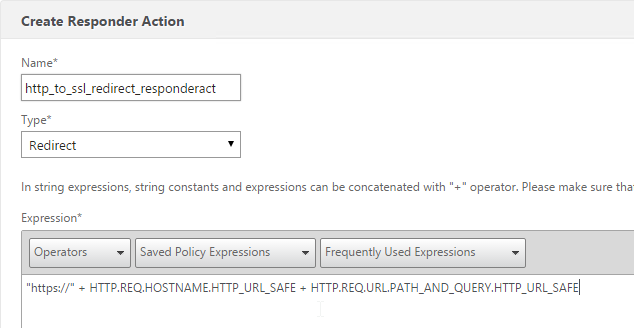
- On the right, click Add.

- Give the action a name.
- Change the Type to Redirect.
-
Enter an expression. The following expression can be used by multiple Redirect Virtual Servers. Or you can create a Responder Action with a more specific Target. Click Create.
-
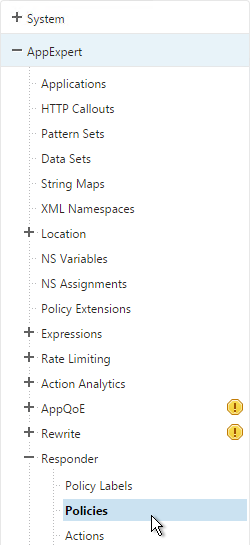
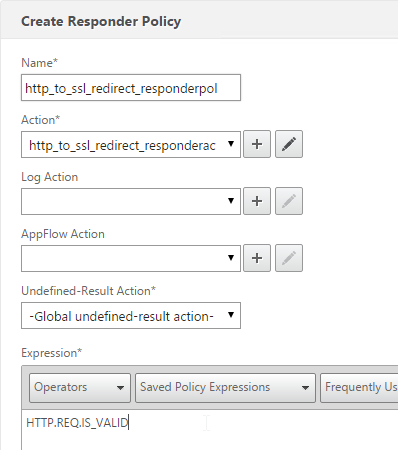
On the left, under Responder, click Policies.
- On the right, click Add.
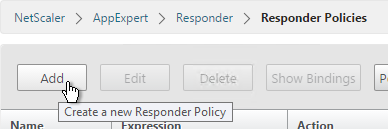
- Give the policy a name.
- Select the previously created Responder action.
-
For the expression, enter the following. Then click Create.
-
Create a Load Balancing Virtual Server with Protocol HTTP and Port 80. The VIP should match an existing SSL Virtual Server or NetScaler Gateway Virtual Server.
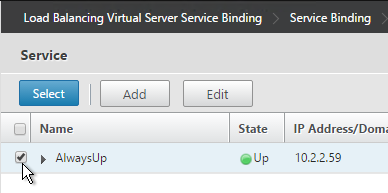
- Bind the Dummy (AlwaysUp) service, and click OK.
- On the right, in the Advanced Settings column, click Policies.
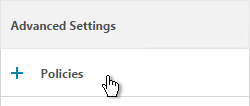
- Click the plus icon in the top right of the Policies box.

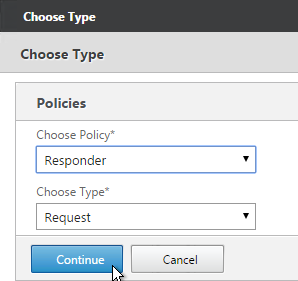
- Select Responder and click Continue.
-
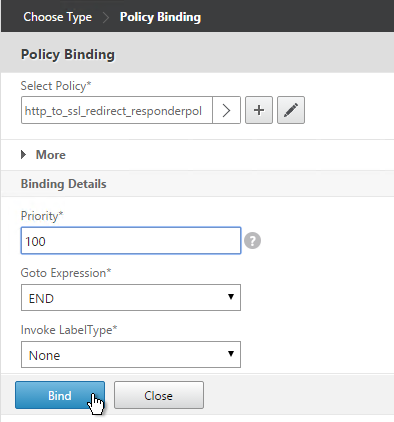
Select the Redirect Responder policy and click Bind. Then click Done.
-
The primary advantage of this method is that the Redirect Virtual Server is UP.
