NetScaler Gateway 11 - RDP Proxy
RDP Proxy
NetScaler 10.5.e and NetScaler 11 support RDP Proxy through NetScaler Gateway. No VPN required. There are two ways of launching RDP sessions through NetScaler Gateway RDP Proxy:
- Bookmarks on the Clientless Access portal page.
- After logging in, change the URL in the browser to /rdpproxy/MyRDPServer. MyRDPServer can be IP or DNS.
You can have one Gateway vServer that authenticates the user and a different Gateway vServer to proxy the RDP connection. The Gateways use Secure Ticket Authority (STA) for mutual authentication. See Stateless RDP Proxy at docs.citrix.com for more information. :idea:
Links:
- Kenny Baldwin blog post RDP-Proxy on NetScaler!
- Citrix Blog Post RDP Gateway on a NetScaler SSLVPN Virtual Server
- Citrix CTX200853 How to Configure RDP Profile on NetScaler Gateway
- RDP Proxy section in Unified Gateway FAQ at docs.citrix.com
- Anton van Pelt NetScaler Gateway = RD Gateway :idea:
Here are some requirements for RDP Proxy:
- NetScaler Enterprise Edition or Platinum Edition.
- NetScaler Gateway Universal Licenses for each user.
- TCP 443 and TCP 3389 opened to the NetScaler Gateway Virtual Server.
- TCP 3389 opened from the NetScaler SNIP to the RDP Servers.
Do the following to configure RDP Proxy:
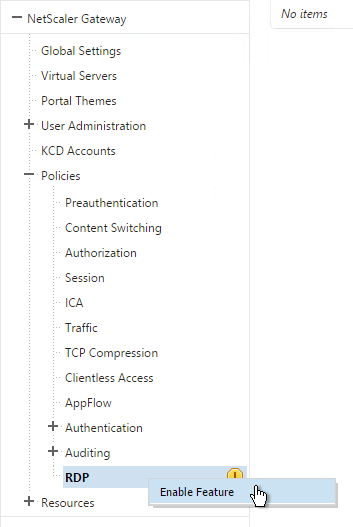
- Expand NetScaler Gateway, expand Policies, right-click RDP and click Enable Feature.
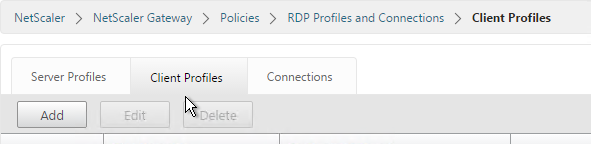
- Click RDP on the left. On the right, switch to the Client Profiles tab and click Add.
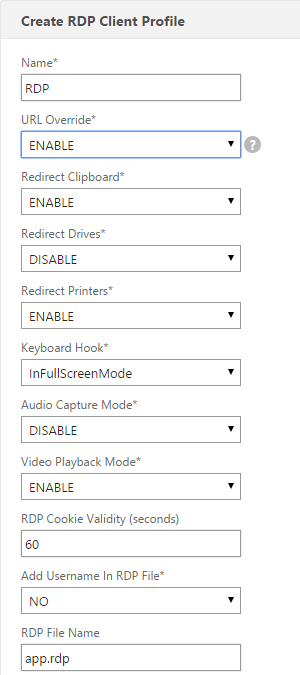
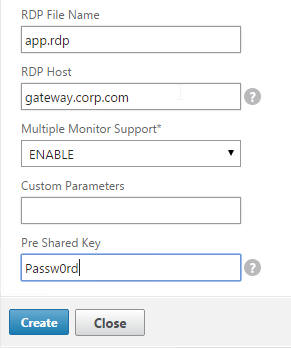
- Give the Client Profile a name and configure it as desired. Scroll down.
- In the RDP Host field, enter the FQDN that resolves to the RDP Proxy listener, which is typically the same FQDN as NetScaler Gateway.
- Near the bottom is a Pre Shared Key. Enter a password and click OK. You’ll need this later.
- On the right, switch to the Server Profiles tab and click Add.
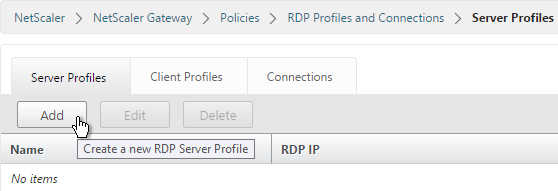
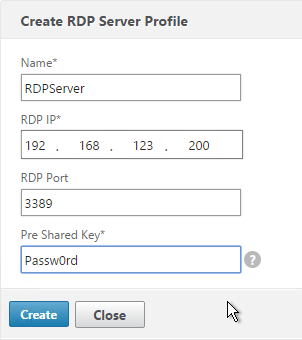
- Give the Server Profile a name.
- Enter the IP of the Gateway Virtual Server you’re going to bind this to.
- Enter the same Pre Shared Key you configured for the RDP Client Profile. Click Create.
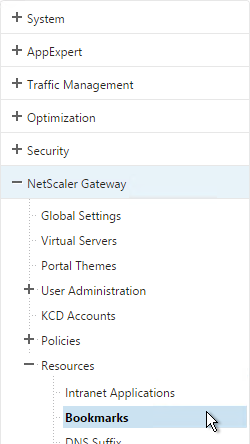
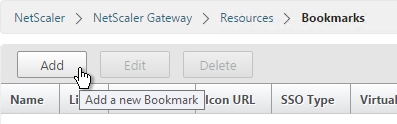
- If you want to put RDP bookmarks on the Clientless Access portal page, on the left, expand NetScaler Gateway, expand Resources, and click Bookmarks.
- Alternatively, Simon Gottschlag Publish RDP Proxy Link via StoreFront shows how NetScaler Rewrite can insert an RDP Proxy link into a StoreFront web page. :idea:
- On the right, click Add.
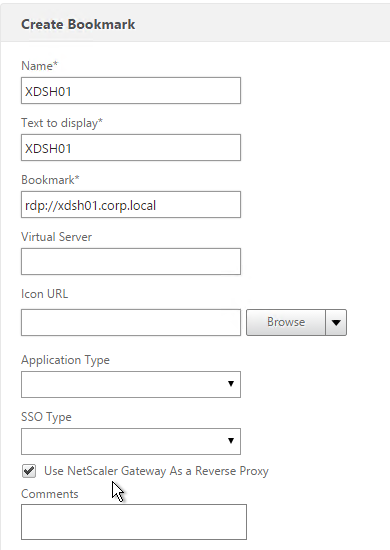
- Give the Bookmark a name.
- For the URL, enter rdp://MyRDPServer using IP or DNS.
- Check the box next to Use NetScaler Gateway As a Reverse Proxy and click Create.
- Create more bookmarks as desired.
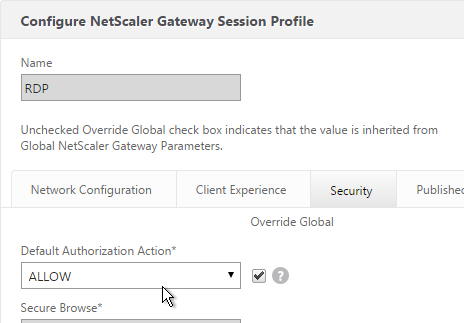
- Create or edit a session profile/policy.
- On the Security tab, set Default Authorization Action to ALLOW. Or you can use Authorization policies to control access.
- On the Remote Desktop tab, select the RDP Client Profile you created earlier.

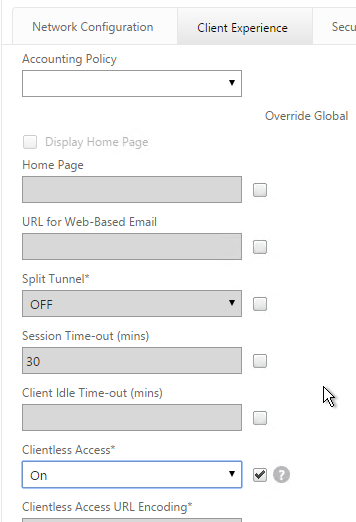
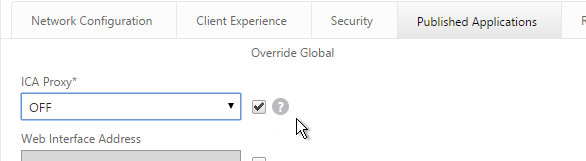
- If you want to use Bookmarks, on the Client Experience tab, set Clientless Access to On.
- On the Published Applications tab, make sure ICA Proxy is OFF.
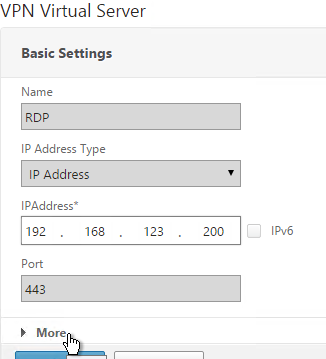
- Edit or Create your Gateway Virtual Server.
- In the Basic Settings section, click More.
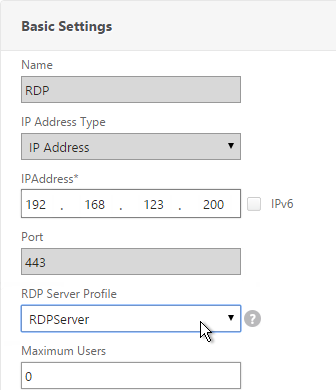
- Use the RDP Server Profile drop-down to select the RDP Server Profile you created earlier.
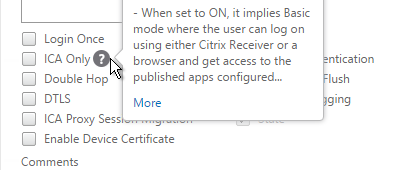
- Scroll down. Make sure ICA Only is not checked.
- Bind a certificate.
- Bind authentication policies.
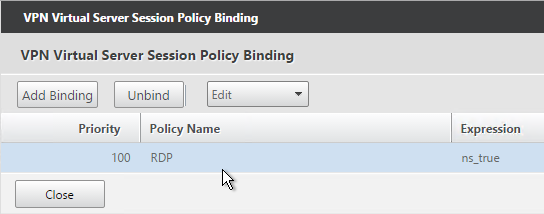
- Bind the session policy/profile that has the RDP Client Profile configured.
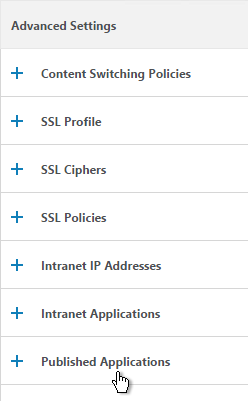
- You can bind Bookmarks to either the NetScaler Gateway Virtual Server or to a AAA group. To bind to the NetScaler Gateway Virtual Server, on the right, in the Advanced Settings section, click Published Applications.
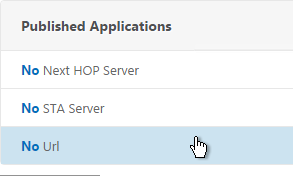
- On the left, in the Published Applications section, click where it says No Url.
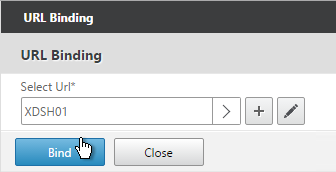
- Bind your Bookmarks.
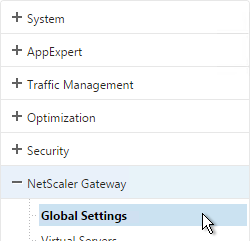
- Since this NetScaler Gateway Virtual Server has ICA Only unchecked, make sure your NetScaler Gateway Universal licenses are configured correctly. On the left, expand NetScaler Gateway and click Global Settings.
- On the right, click Change authentication AAA settings.
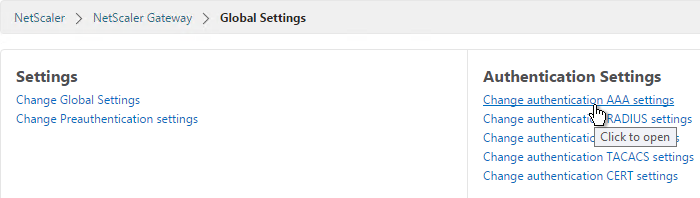
- Change the Maximum Number of Users to your licensed limit.

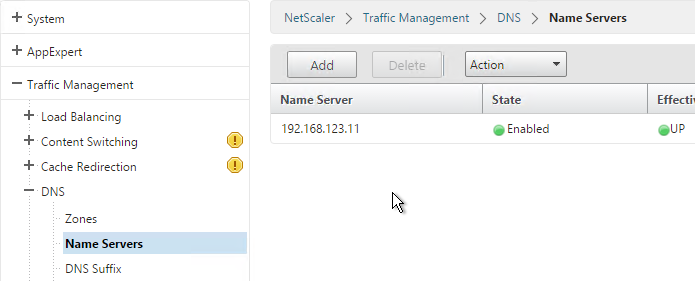
- If you want to connect to RDP servers using DNS, make sure DNS servers are configured on the appliance (Traffic Management > DNS > Name Servers).
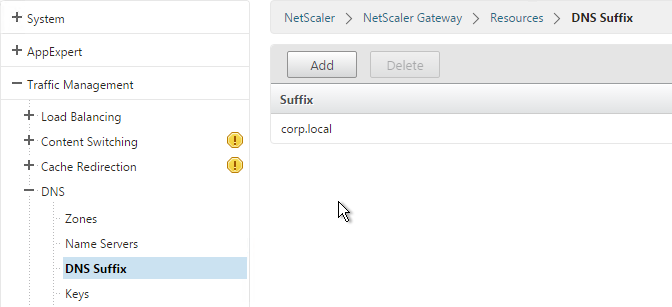
- If you want to use the short names instead of FQDNs, add a DNS Suffix (Traffic Management > DNS > DNS Suffix).
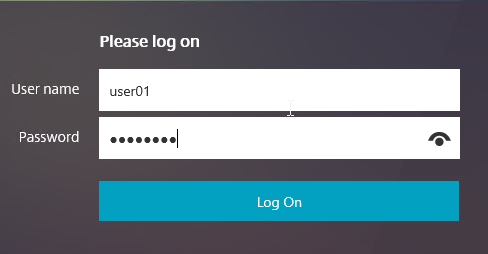
- Connect to your Gateway and login.
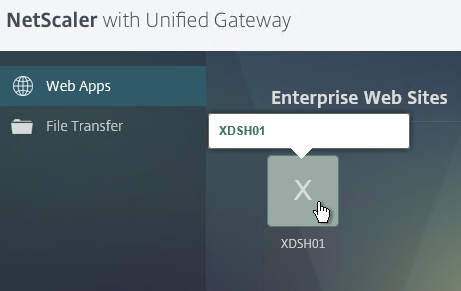
- If you configured Bookmarks, simply click the Bookmark.
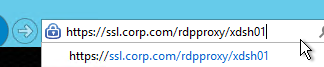
- Or you can change the address bar to /rdpproxy/MyRDPServer. You can enter IP address (e.g. rdpproxy/192.168.1.50) or DNS names (/rdpproxy/myserver).
- Then open the downloaded .rdp file.

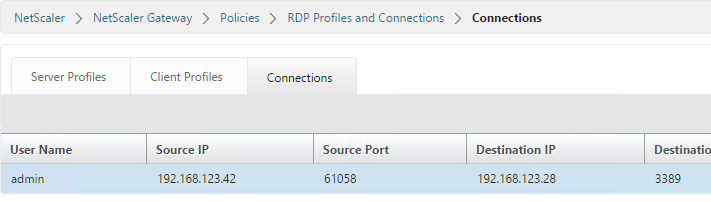
- You can view the currently connected users by going to NetScaler Gateway > Policies > RDP and on the right is the Connections tab.