Citrix Provisioning Console Configuration
Navigation
This article applies to all 7.x versions of Citrix Provisioning, including 2411, 2402 LTSR, and 2203 LTSR.
- Change Log
- Launch the Console
- Farm Properties
- Server Properties
- vDisk Stores
- Device Collections
- Prevent "No vDisk Found" PXE Message
Change Log
- 2024 Aug 6 - Encryption tab in Farm Properties
- 2023 Dec 23 - read-only administrators in 2311
- 2023 Aug 22 - Citrix Blog Post From Legacy to Leading Edge: The New Citrix Provisioning Guidelines says Avoid Modifying the Threads Per Port and Streaming Ports.
Launch the Provisioning Console
- Launch the Citrix Provisioning Console.
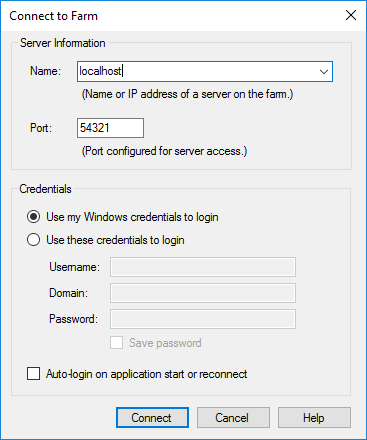
- Right-click the top-left node and click Connect to Farm.

- Enter localhost and click Connect.
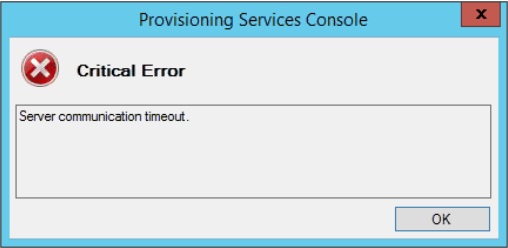
- In large multi-domain environments, or when older domains are still configured but are unreachable, if you see Server communication timeout, then see CTX231194 PVS Console Errors: "Critical Error: Server communication timeout" for a registry key to skip forest level trusts, a registry key to increase the console timeout, and a .json file to blacklist domains.
Farm Properties
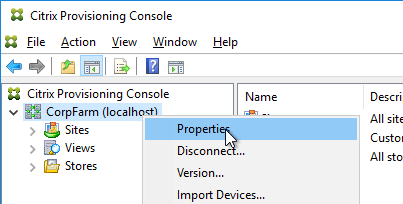
- Right-click the farm name and click Properties.
- On the Groups tab, add the Citrix Admins group.
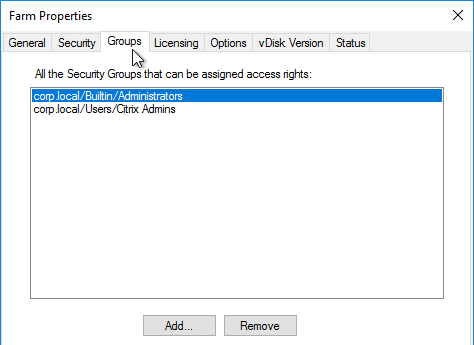
- On the Security tab, add the Citrix Administrators group to grant it full permission to the entire Provisioning farm. You can also assign permissions in various nodes in the Provisioning console. Citrix Provisioning 2311 and newer let you restrict a group to Read-only access.
- On the Options tab, check the boxes next to Enable Auditing, and Enable offline database support.
- With Auditing enabled, you can right-click on objects and click Audit Trail to view the configuration changes.
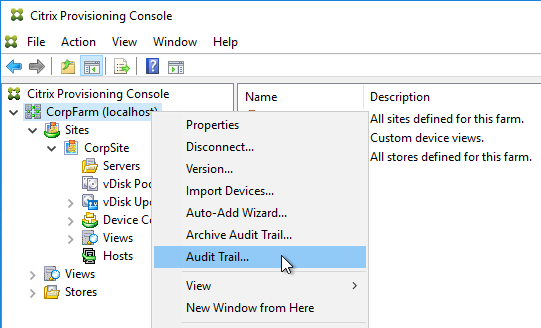
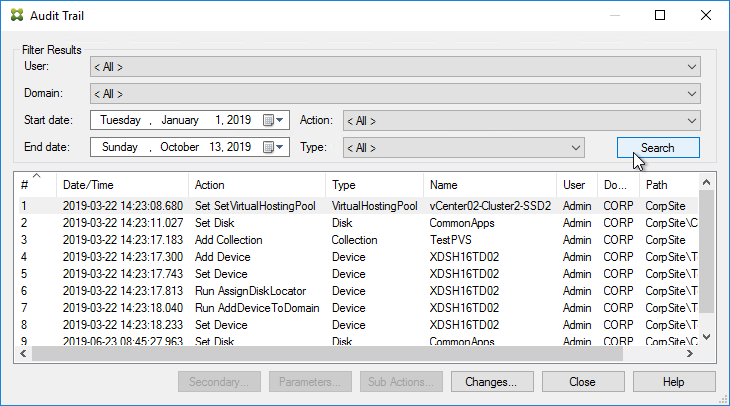
- With Auditing enabled, you can right-click on objects and click Audit Trail to view the configuration changes.
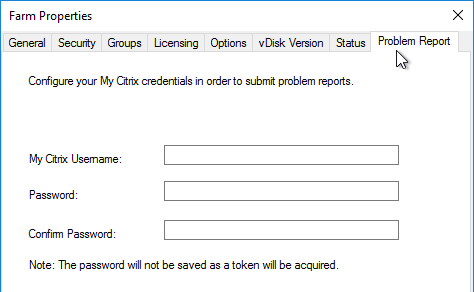
- If you see a Problem Report tab, you can enter MyCitrix credentials. This tab was removed in Provisioning 2209.
- Registration tab shows you if the farm is registered to a CVAD Site or Citrix Cloud.
- Encryption tab shows you the status of database encryption. In PVS 2407 and newer, database encryption no longer requires registration with Citrix Cloud.
- Click OK to close Farm Properties.
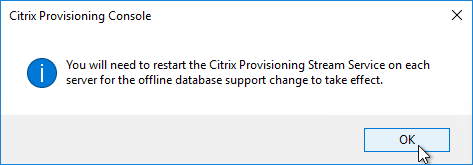
- Click OK when prompted that a restart of the service is required.
Server Properties
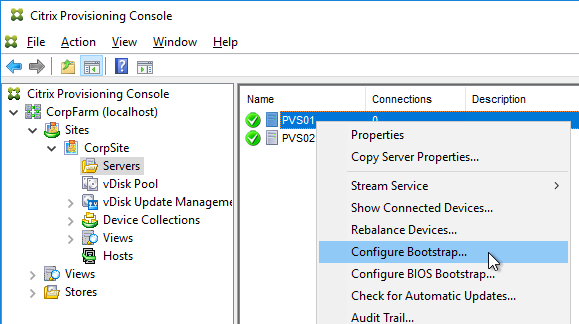
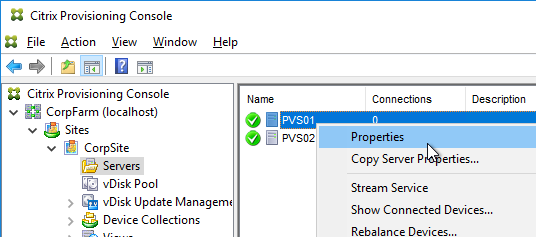
- Expand the Provisioning Site and click Servers.
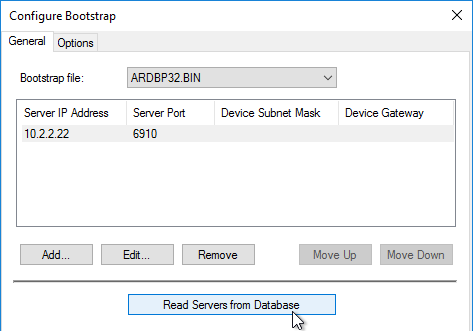
- For each Provisioning Server, right-click it, and click Configure Bootstrap.
- Click Read Servers from Database. This should cause both servers to appear in the list.
- From Carl Fallis at PVS HA at Citrix Discussions: when stopping the stream service through the console the Provisioning server will send a message to the targets to reconnect to another server before the stream service shuts down. The target then uses the list of login servers (Bootstrap servers) and reconnects to another server, this is almost instantaneous failover and can't really be detect . In the case of the Provisioning server failing the target detects it and reconnects, slightly different mechanism and the target may hang for a short time. Check out the following article for more information https://www.citrix.com/blogs/2014/10/16/provisioning-services-failover-myth-busted for the Provisioning server failure case.
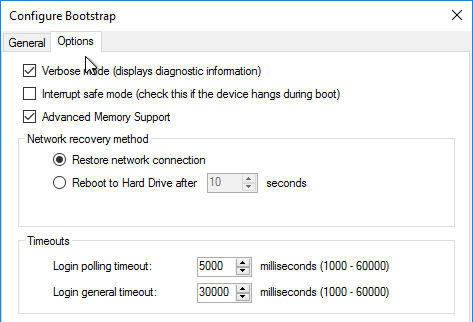
- On the Options tab, check the box next to Verbose mode.
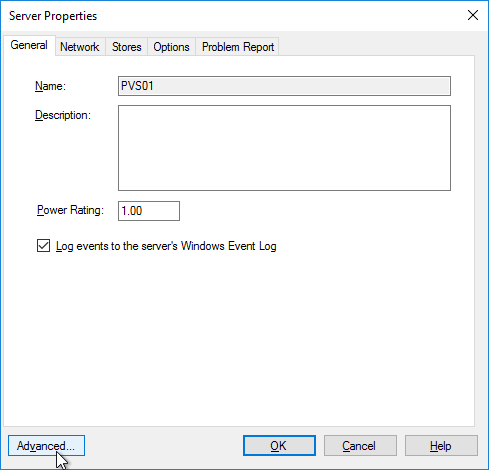
- Right-click the server, and click Properties.
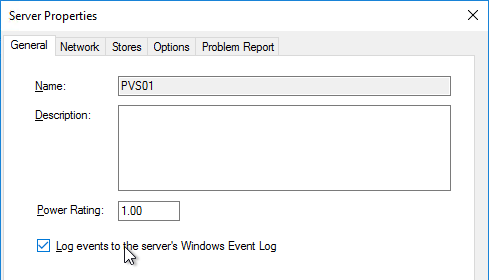
- On the General tab, check the box next to Log events to the server’s Windows Event Log.
- Click Advanced.
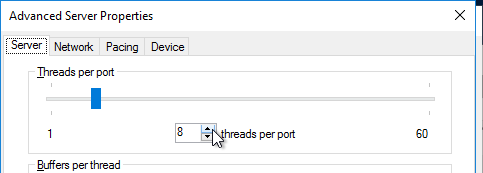
- Citrix Blog Post From Legacy to Leading Edge: The New Citrix Provisioning Guidelines says Avoid Modifying the Threads Per Port and Streaming Ports. The old guidance was for the number of threads per port should match the number of vCPUs assigned to the server.
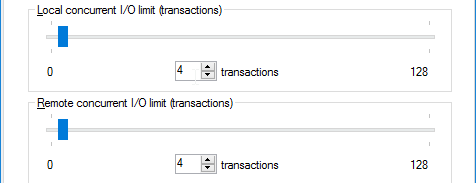
- On the same tab are concurrent I/O limits. Note that these throttle connections to local (drive letter) or remote (UNC path) storage. Setting them to 0 turns off the throttling. Only testing will determine the optimal number.
- Click OK to close Advanced Server Properties.
-
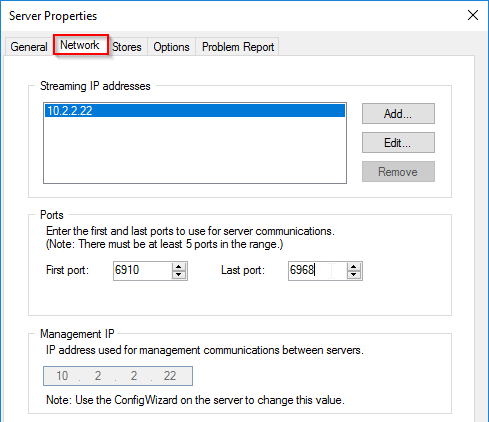
On the Network tab, Citrix Blog Post From Legacy to Leading Edge: The New Citrix Provisioning Guidelines says Avoid Modifying the Threads Per Port and Streaming Ports. The old guidance was to change the Last port to 6968.
- Note: port 6969 is used by the Provisioning two-stage boot (Boot ISO) component.
- You can set the First port to 7000 to avoid port 6969 and get more ports.
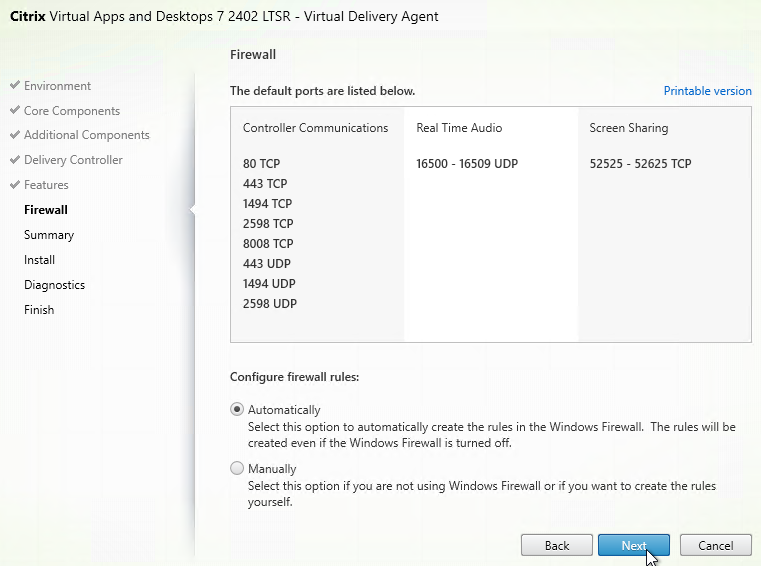
- Citrix Provisioning 1811 and newer open Windows Firewall ports during installation, but Citrix Provisioning Console will not change the Windows Firewall rules based on what you configure here. You'll need to adjust the Windows Firewall rules manually.
- Click OK when done.
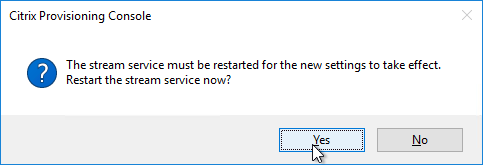
- Click Yes if prompted to restart the stream service.
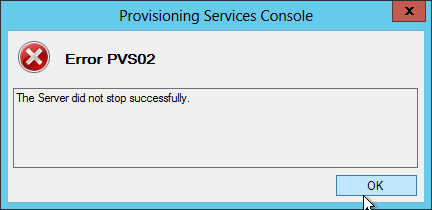
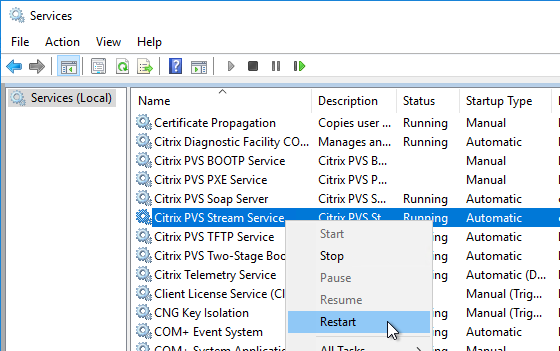
- If you get an error message about the stream service then you’ll need to restart it manually.
- From Carl Fallis at PVS HA at Citrix Discussions: when stopping the stream service through the console the Provisioning server will send a message to the targets to reconnect to another server before the stream service shuts down. The target then uses the list of login servers and reconnects to another server, this is almost instantaneous failover and can't really be detect . In the case of the Provisioning server failing the target detects it and reconnects, slightly different mechanism and the target may hang for a short time. Check out the following article for more information https://www.citrix.com/blogs/2014/10/16/provisioning-services-failover-myth-busted for the Provisioning server failure case.
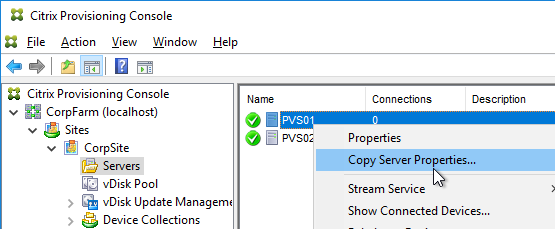
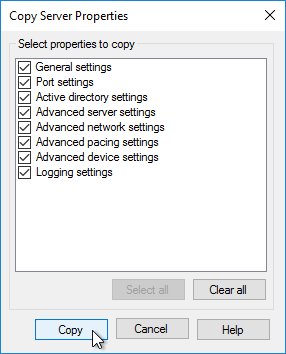
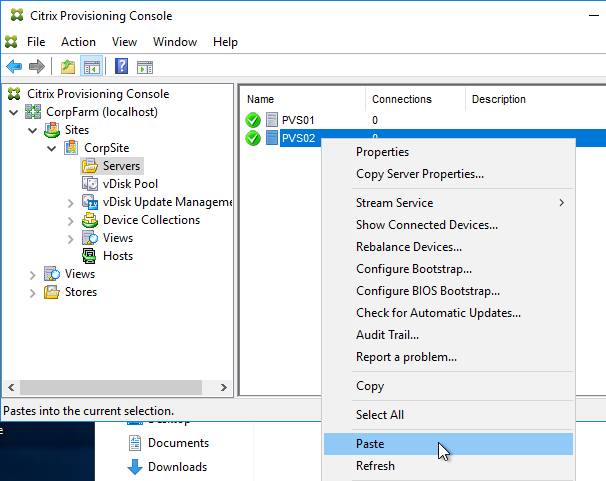
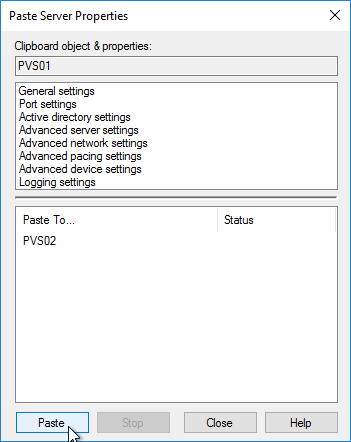
- Repeat for the other servers. You can copy the Server Properties from the first server, and paste them to additional servers.
Create vDisk Stores
To create additional vDisk stores (one per vDisk / Delivery Group / Image), do the following:
- On the Provisioning servers, using Explorer, go to the local disk containing the vDisk folders and create a new folder. The folder name usually matches the vDisk name. Do this on both Provisioning servers.
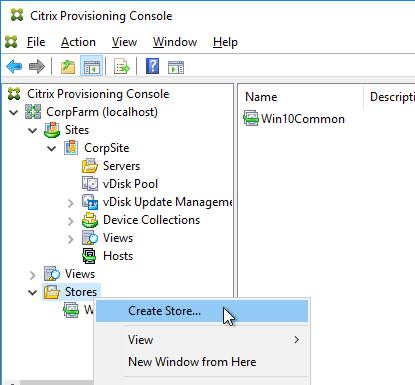
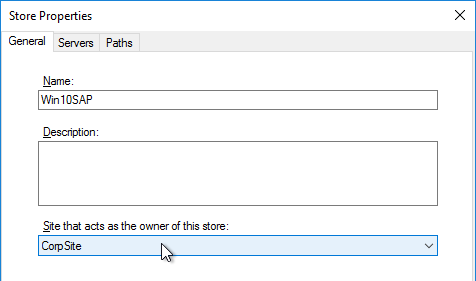
- In the Provisioning Console, right-click Stores, and click Create Store.
- Enter the name for the vDisk store, and select an existing site.
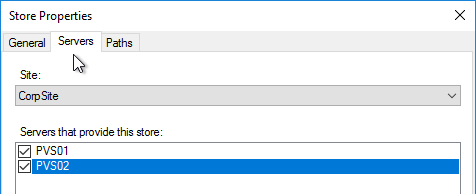
- Switch to the Servers tab. Check the boxes next to the Provisioning Servers.
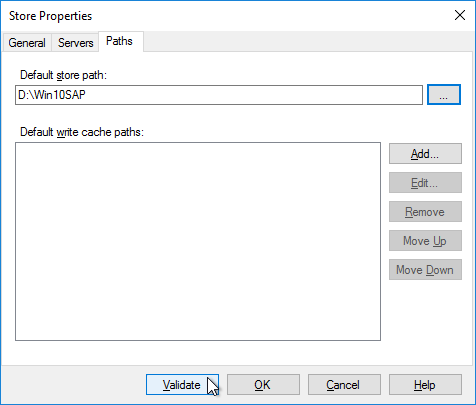
- On the Paths tab, enter the path for the Delivery Group's vDisk files. Shared SMB paths are supported as described at Citrix Blog Post PVS Internals #4: vDisk Stores and SMB3.
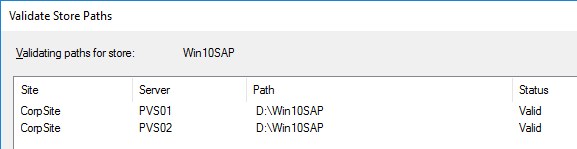
- Click Validate.
- Click Close and then click OK.
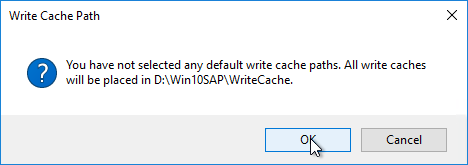
- Click Yes when asked for the location of write caches.
Create Device Collections
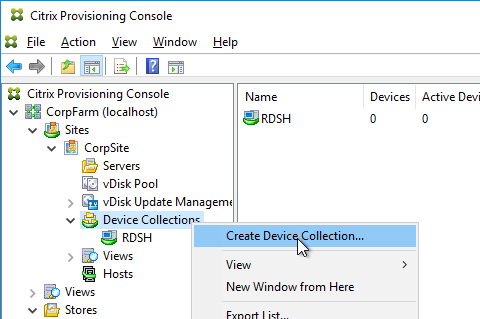
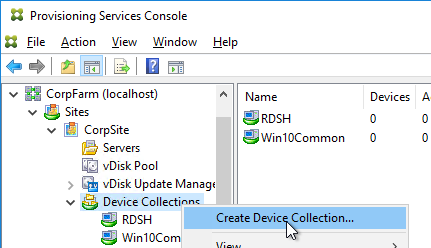
- Expand the site, right-click Device Collections, and click Create Device Collection.
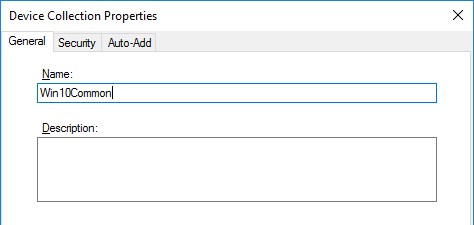
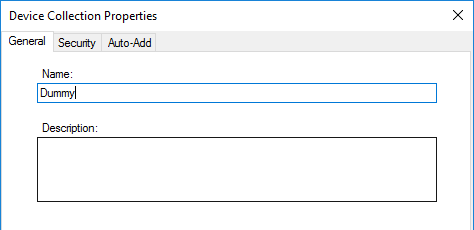
- Name the collection in some fashion related to the name of the Delivery Group, and click OK.
If you are migrating from one Provisioning farm to another, see Kyle Wise How To Migrate PVS Target Devices.
Prevent “No vDisk Found” PXE Message
If PXE is enabled on your Provisioning servers, and if you PXE boot a machine that is not added as a device in the Provisioning console, then the machine will pause booting with a "No vDisk Found" message at the BIOS boot screen. Do the following to prevent this.
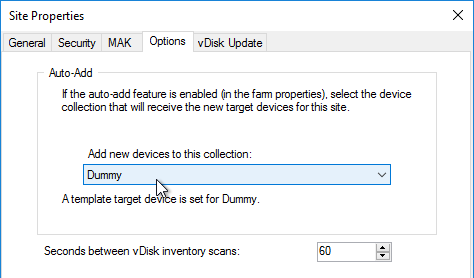
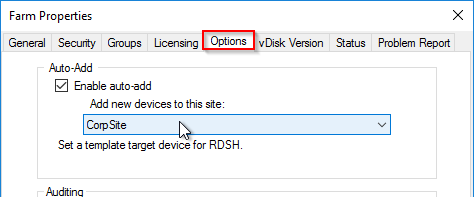
- Enable the Auto-Add feature in the farm Properties on the Options tab.

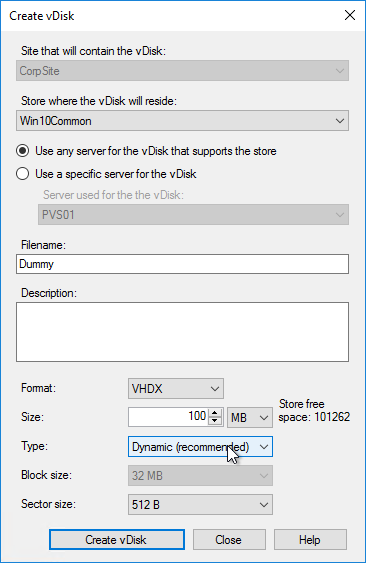
- Create a small dummy vDisk (e.g. 100 MB).
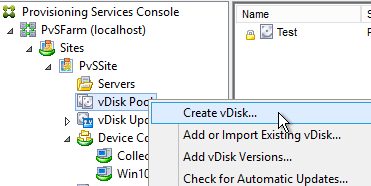
- Create a dummy Device Collection.
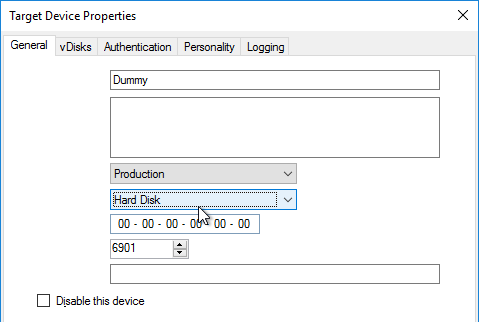
- Create a dummy device.

- Set it to boot from Hard Disk
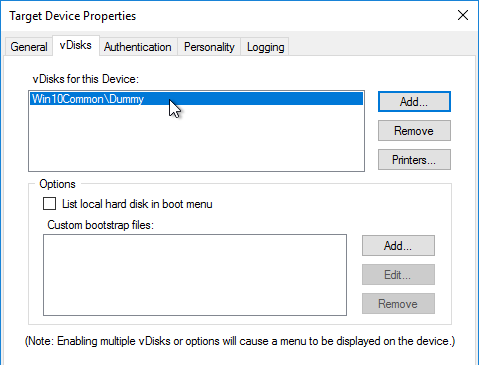
- Assign the dummy vDisk and click OK.
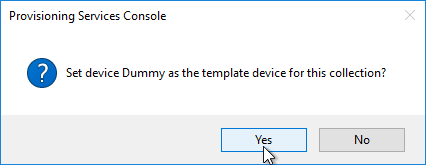
- Set the dummy device as the Template.

- Right-click the site, and click Properties.
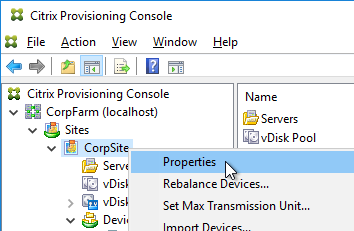
- On the Options tab, point the Auto-Add feature to Dummy collection, and click OK.